The Different Phases of the Moon: A Detailed Guide to Drawing Them
From ancient civilizations to modern-day stargazers, the moon has captivated humanity for centuries. Its mysterious and ever-changing appearance in the night sky has sparked curiosity and inspired countless works of art. If you’re eager to join the ranks of moon enthusiasts and learn how to draw the different phases of the moon, you’ve come to the right place. In this detailed guide, we’ll explore the various stages of the moon and provide step-by-step instructions on how to depict them in your own drawings. So, grab your sketchbook and let’s get started!
The Moon’s Phases: An Overview
Before we delve into the art of drawing the moon’s phases, let’s first familiarize ourselves with the different stages this celestial body goes through. The moon experiences eight primary phases during its 29.5-day lunar cycle:
- New Moon
- Waxing Crescent
- First Quarter
- Waxing Gibbous
- Full Moon
- Waning Gibbous
- Last Quarter
- Waning Crescent
Now that we have a basic understanding of the moon’s phases, let’s dive into the intricacies of drawing each one.
Drawing the Moon’s Phases
1. New Moon: The new moon is the beginning of the lunar cycle and occurs when the moon is in conjunction with the sun, making it virtually invisible from Earth. To draw the new moon, simply depict a dark circle or a blank space on your canvas representing the moon’s position.
2. Waxing Crescent: As the moon moves away from the new moon phase, a small, illuminated crescent starts to emerge. To draw the waxing crescent, sketch a small, curved crescent shape on the right side of the blank space representing the moon. The illuminated part should be on the right side, as the moon gradually becomes more visible.
3. First Quarter: The first quarter moon occurs when half of the moon’s surface is illuminated. To draw this phase, create a half-circle shape that is illuminated on the right side. This shape represents the quarter of the moon that is visible from Earth.
4. Waxing Gibbous: Moving further along in the lunar cycle, the waxing gibbous phase is characterized by a nearly full moon with a small dark sliver on the left side. To represent this phase, draw a large circular shape with a smaller, curved shadow on the left side, creating a gibbous shape.
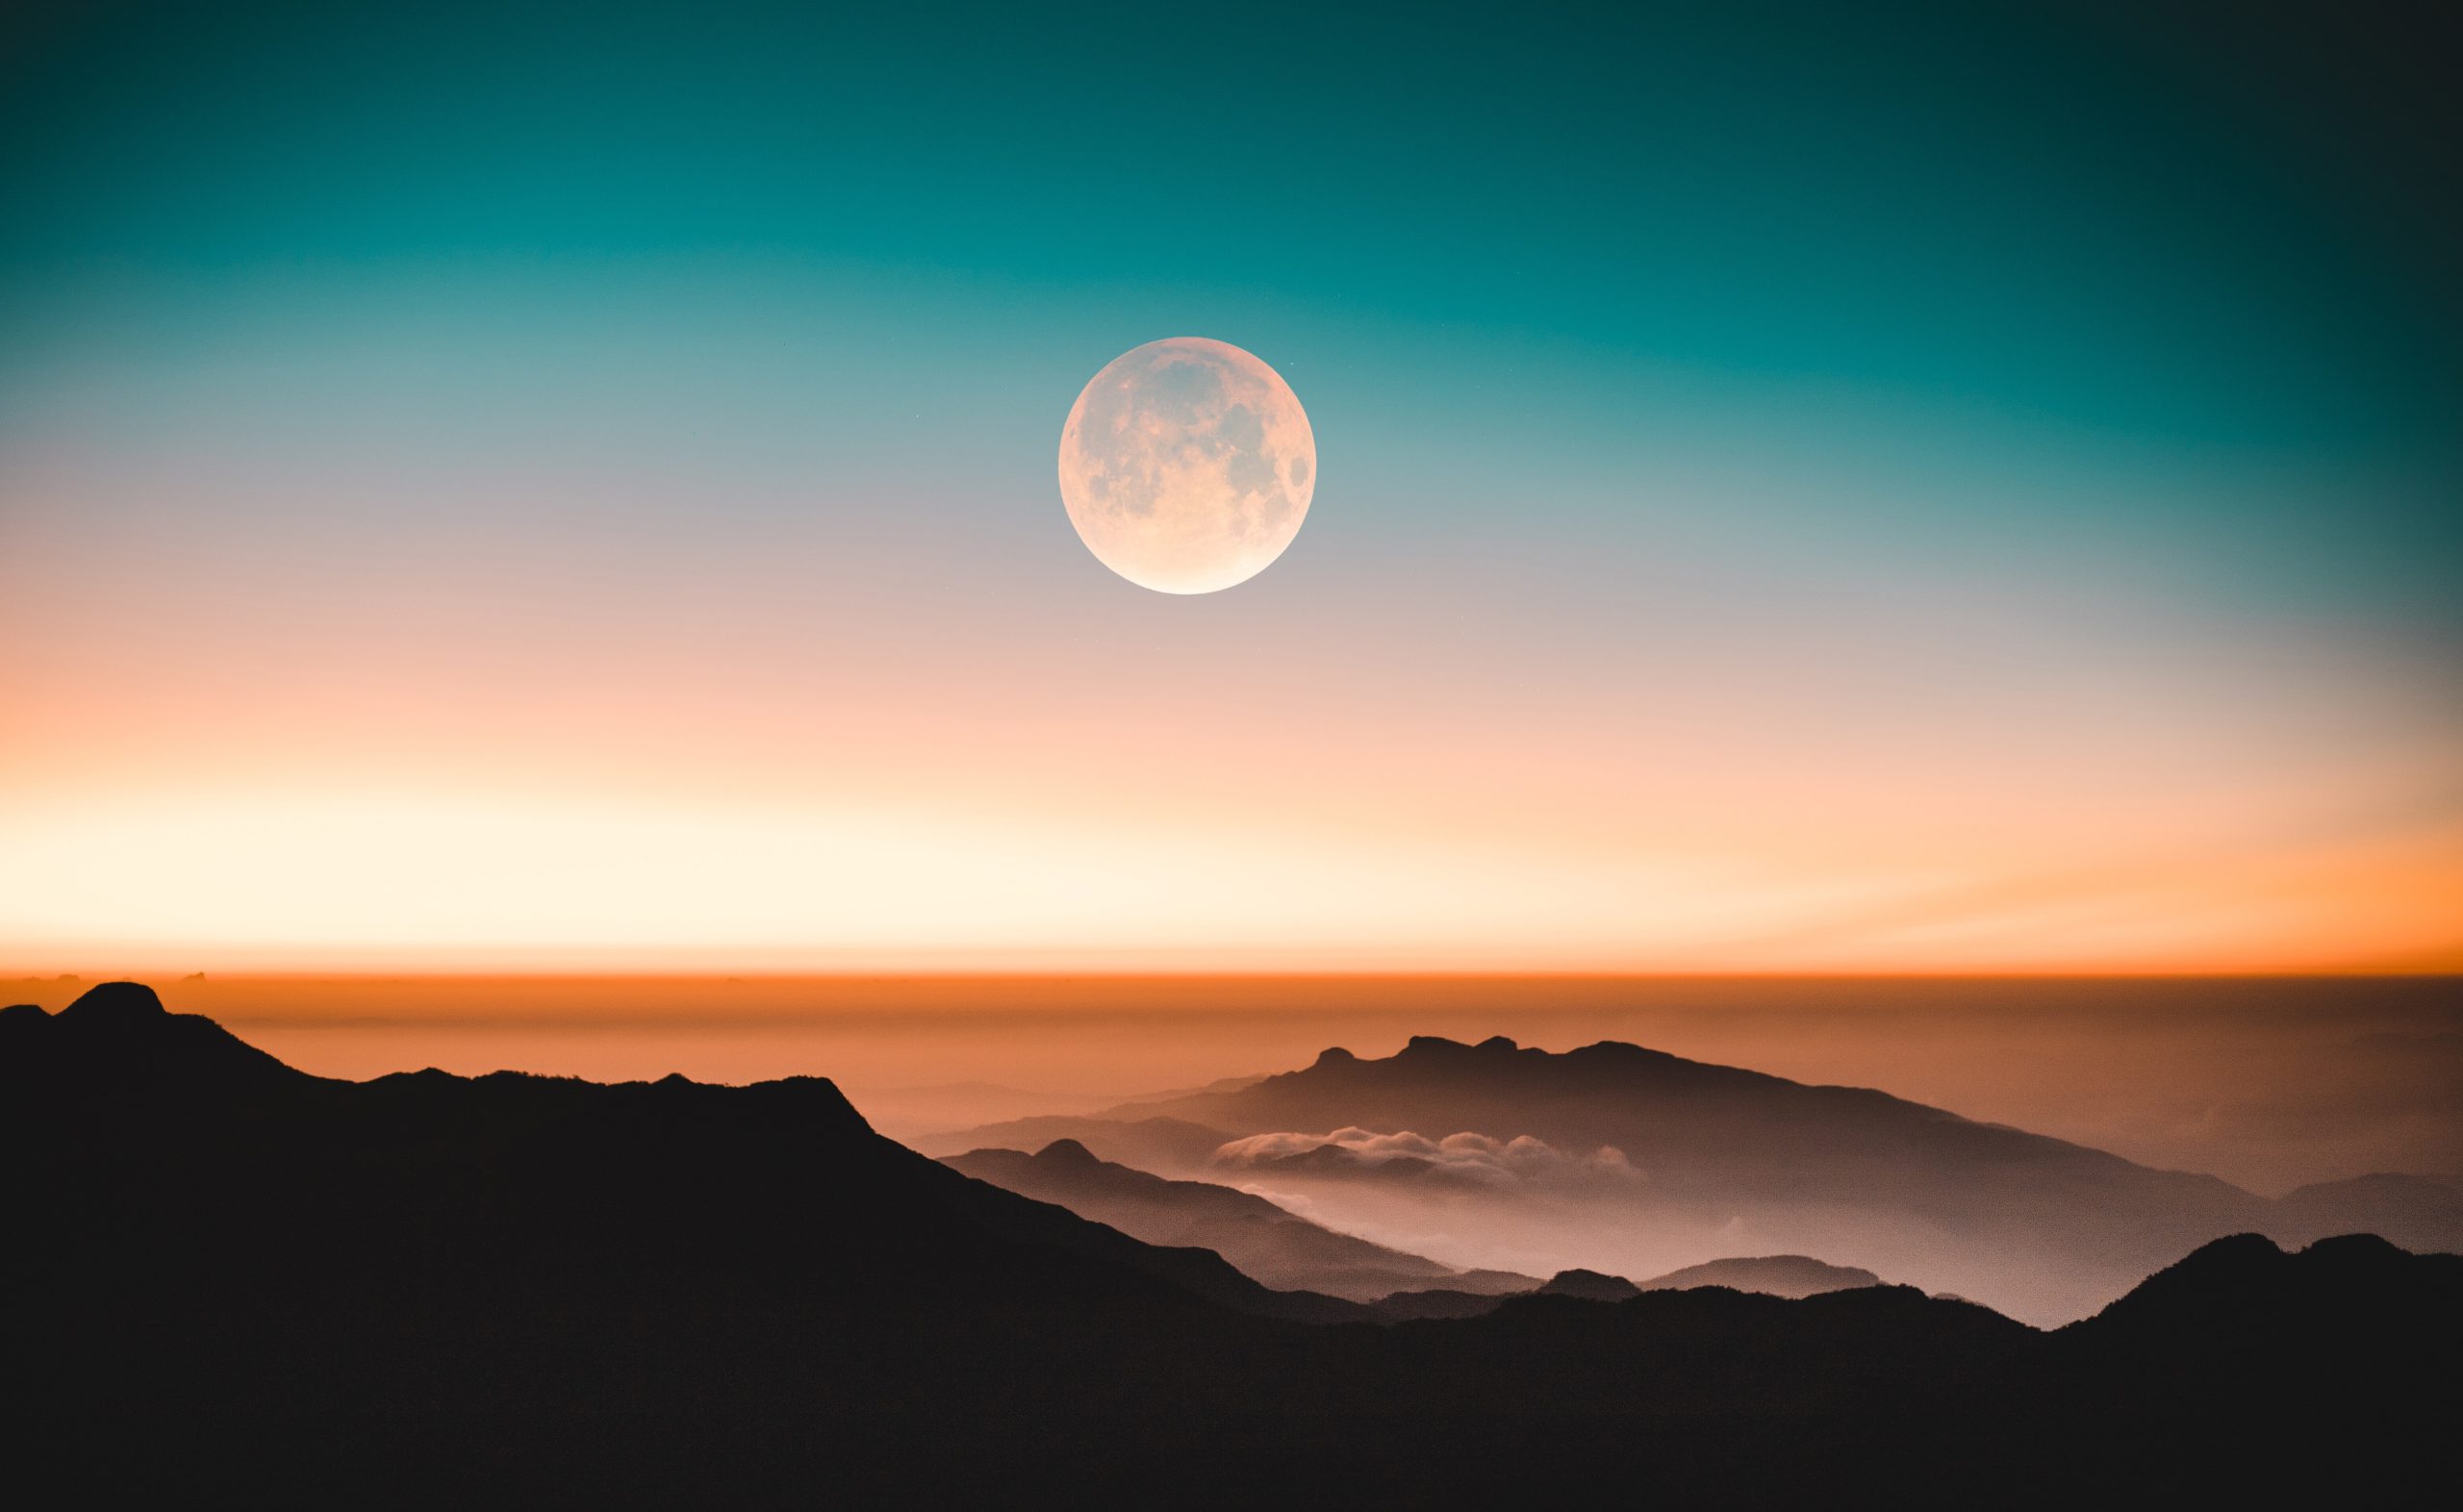
5. Full Moon: Perhaps the most iconic of all moon phases, the full moon occurs when the entire face of the moon is illuminated. To draw this phase, create a large, perfect circle on your canvas, representing the complete illumination of the moon’s surface.
6. Waning Gibbous: Following the full moon, the moon starts to wane. The waning gibbous phase is similar to the waxing gibbous, but with the shadow on the right side instead of the left. Draw a large circular shape with a curved shadow on the right side to depict this phase.
7. Last Quarter: As the moon moves towards the end of its cycle, it reaches the last quarter phase. Similar to the first quarter phase, the last quarter phase is represented by a half-circle shape. However, this time, the illuminated side is on the left.
8. Waning Crescent: Finally, as the moon approaches the new moon phase, only a small, illuminated crescent remains visible. To draw the waning crescent, create a curved crescent shape on the left side of your canvas, with the illuminated part on the left.
Tips for Realistic Moon Drawings
Now that you know how to draw the various phases of the moon, here are a few additional tips to make your moon drawings more realistic and visually appealing:
- Observe the real moon: Take the time to look at the moon in the night sky during different phases. Pay attention to the nuances of its illumination and the position of shadows.
- Play with shading: Use shading techniques to add depth and dimension to your moon drawings. Gradually transition from dark to light tones to create a realistic representation of the moon’s surface.
- Experiment with different art mediums: Try using charcoal, pastels, or even watercolors to bring your moon drawings to life. Each medium offers unique textures and effects that can enhance your artwork.
- Consider the moon’s surroundings: When drawing the moon, think about its context – the night sky, stars, clouds, or even landscapes. Adding these elements can help create a more immersive drawing.
Conclusion
The moon’s phases have fascinated humans for centuries, and capturing their beauty in artwork is a fulfilling creative endeavor. By following the steps outlined in this guide, you can create stunning moon drawings that showcase the ever-changing face of our celestial neighbor. Remember to practice, experiment, and embrace your artistic instincts as you embark on this lunar art journey. So go ahead, step outside on a clear night, admire the moon’s luminous glow, and translate its magic onto paper.
Table of Contents