How to Draw a Quarter Moon: A Step-by-Step Guide to Creating Stunning Lunar Art
Welcome to our comprehensive guide on how to draw a quarter moon! Whether you’re an aspiring artist or simply looking to enhance your artistic skills, this step-by-step tutorial will take you through the process of creating a stunning representation of the lunar phase known as the quarter moon.
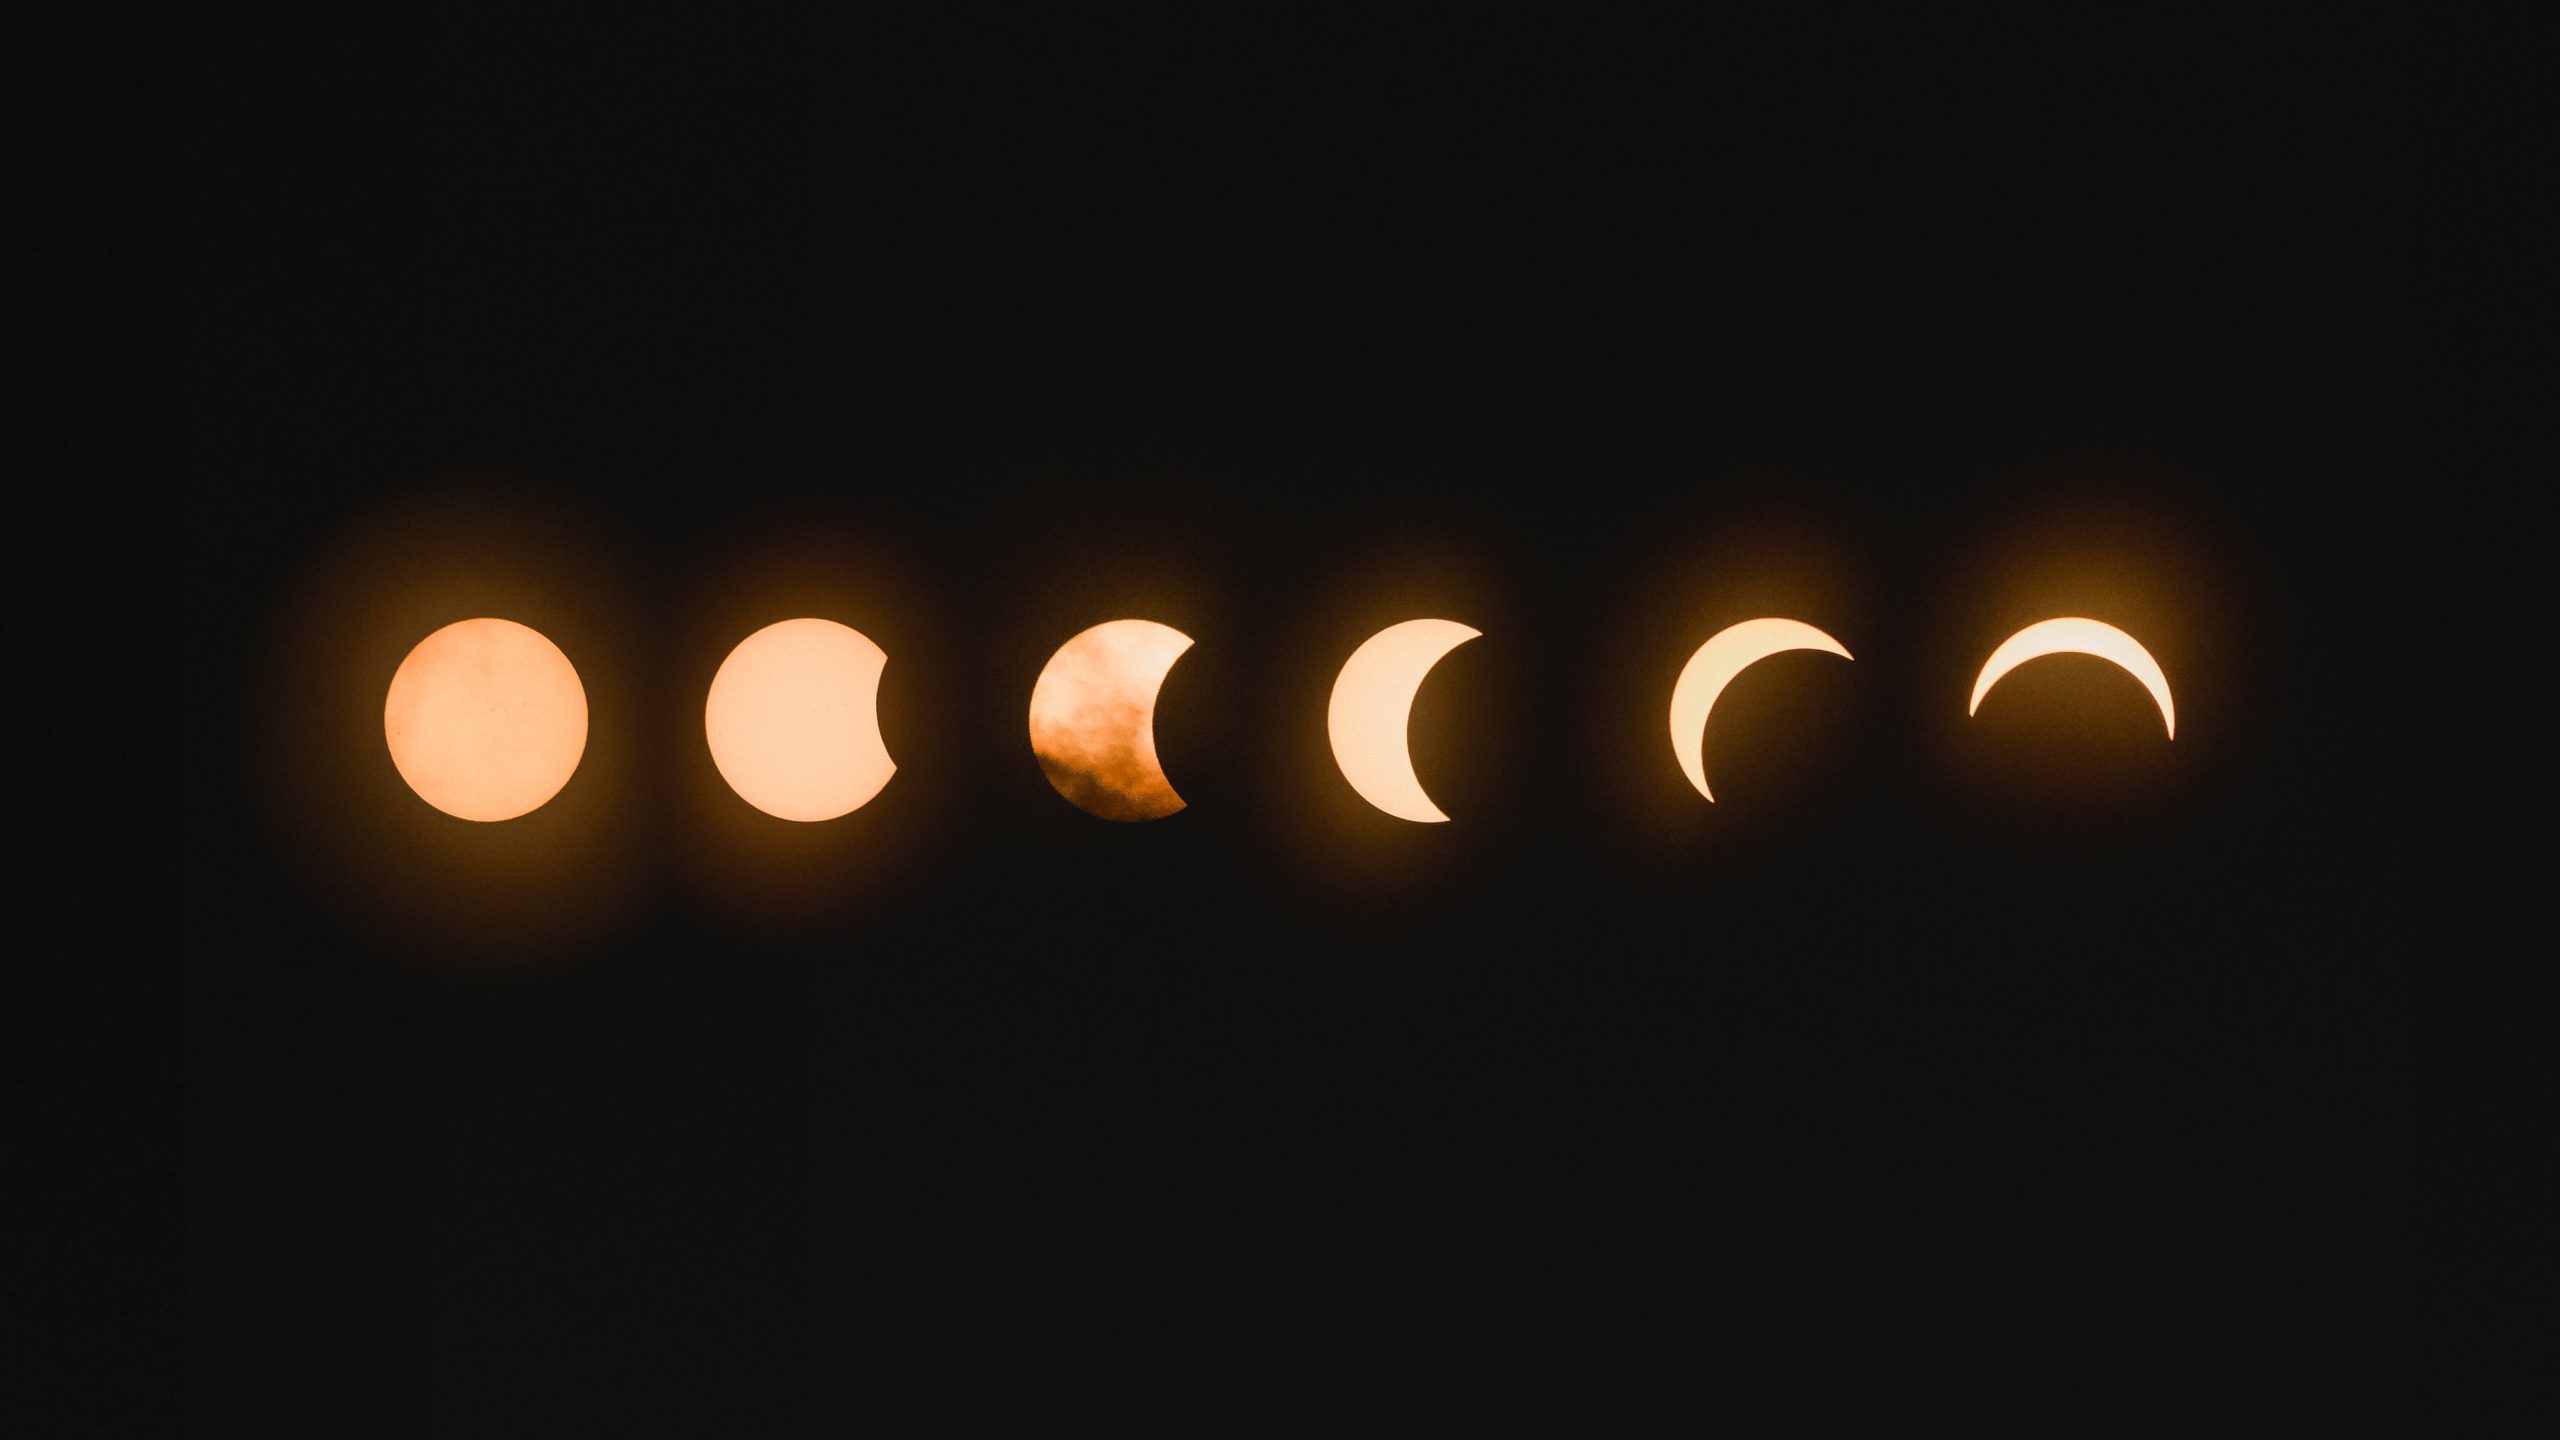
Before we dive into the art of drawing a quarter moon, let’s take a moment to understand what it represents. A quarter moon occurs when exactly half of the Moon’s illuminated surface is visible from the Earth. This phase is often associated with mystery, tranquility, and a sense of introspection.
Gather Your Materials
Before we embark on our artistic journey, let’s gather all the necessary materials. Here’s what you’ll need:
- Drawing paper: Opt for a high-quality drawing paper that can handle different mediums.
- Pencils: A set of drawing pencils with varying degrees of hardness, such as 2B, 4B, and 6B.
- Eraser: A kneaded eraser or a vinyl eraser will come in handy.
- Compass: A compass will help you achieve perfectly symmetrical circles.
- Ruler: A ruler serves as a useful tool for drawing straight lines and ensuring accuracy.
Step 1: Sketch a Circle
Begin by using a compass to draw a circle in the center of your drawing paper. This circle will act as the foundation for your quarter moon illustration.
Place the compass at the center of the paper and adjust the radius according to your desired moon size. Keep in mind that the larger the circle, the more room you’ll have for details. Once you’re satisfied, lightly trace the circle with your pencil.
Step 2: Divide the Circle
Next, let’s divide the circle into halves to represent the illuminated and dark areas of the moon. With your ruler, draw a straight line horizontally across the center of the circle, dividing it into two equal parts.
This line will indicate the line of demarcation between the illuminated portion of the moon and the unlit portion. Take your time to ensure the line is straight and centered.
Step 3: Define the Illuminated Area
Now, let’s focus on the illuminated area of the quarter moon. Using your pencil, darken the upper half of the circle, carefully following the curved outline. The darkness of your lines will depend on the level of illumination you want to convey.
Remember that the illuminated area will always be on the side of the semicircle facing the Sun. Pay attention to the smoothness of the curves and try to keep them as even as possible.
Step 4: Sketch the Dark Area
Moving on to the dark area of the quarter moon. Lightly shade the lower half of the circle, using your pencil to create a gradual transition from the illuminated area. The darkness should gradually increase as you approach the dividing line.
Take your time during this step to achieve a smooth transition. You can adjust the darkness of the shaded area based on your desired level of contrast and realism.
Step 5: Refine and Add Details
Now that you have the basic structure of the quarter moon, it’s time to add depth and refine the details. Begin by evaluating the overall shape and symmetry of your moon.
Using your eraser, gently lighten any areas that need adjustment. This step will help you achieve a well-balanced and aesthetically pleasing drawing.
Next, focus on adding texture and shadow to your quarter moon. Study real moon images or references to understand how light plays on its surface. Use the varying hardness of your pencils to create subtle gradations and shadows.
Experiment with different techniques such as hatching, cross-hatching, or stippling to add texture and dimension to your artwork. Take your time with this step, as the details will greatly enhance the overall realism of your drawing.
Step 6: Final Touches
Once you’re satisfied with the details and shading, take a step back and evaluate your artwork. Are there any areas that need further adjustment or refinement? Use your eraser and pencil to make any necessary modifications.
To truly make your quarter moon illustration stand out, consider adding a background or additional elements. You could draw a starry night sky, distant planets, or even an astronaut gazing at the moon. Your creativity knows no bounds!
Remember, practice makes perfect. The more you draw quarter moons, the better your understanding of their unique features and intricacies.
Conclusion
Congratulations! You’ve successfully completed your quarter moon drawing. By following this step-by-step guide, you’ve learned how to capture the beauty and mystique of this lunar phase.
Remember to embrace your individual style and experiment with different techniques and mediums. The art of drawing a quarter moon is not only about technical precision but also about expressing your artistic vision.
So, gather your materials, set aside some dedicated time, and immerse yourself in the enchanting world of lunar art. Happy drawing!
Table of Contents